快捷键
1 | alt + 滚轮 // 放大、缩小图片 |
修改之前创建的Spring Boot 项目, 添加 Docker 插件
build.gradle
1 | plugins { |
首先创建一个空的 Spring Boot 项目,修改启动类SpringBootHerokuApplication如下
1 | package io.arukas; |
1 |
|
https://devcenter.heroku.com/articles/getting-started-with-laravel
安装selenium
1 | pip install selenium |
测试使用chrome打开百度
1 | from selenium import webdriver |
报错
1 | selenium.common.exceptions.SessionNotCreatedException: Message: session not created: This version of ChromeDriver only supports Chrome version 75 |
解决错误
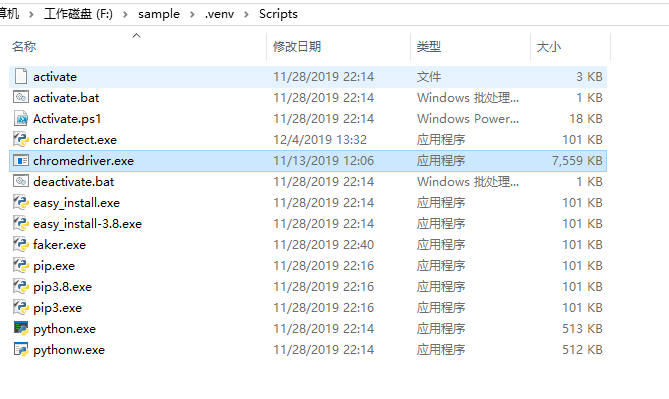
报错原因是chromedriver.exe版本的问题,首先查看当前系统chrome的版本,然后下载对应的驱动就可以了
我这里使用的虚拟环境,因此将下载的驱动放到如下目录
生成加密key
1 | openssl rand -base64 120 > enc.key |
生成iv
1 | openssl rand -hex 16 |
创建keyinfo文件,将上面的内容写进文件
1 | https://pure-sea-19495.herokuapp.com/api/key |
1 | ffmpeg -i output.mp4 -c copy -bsf:v h264_mp4toannexb -hls_time 600 -hls_key_info_file keyinfo -hls_segment_filename data/output%03d.ts data/playlist.m3u8 |
播放
1 | ffplay -protocol_whitelist "file,https,crypto,tcp,tls" playlist.m3u8 |
修改加密文件中的key为本地文件
1 | ffplay -allowed_extensions ALL new.m3u8 |
1 | -bsf:v h264_mp4toannexb |
解码暂时没测试通过…
iv 不需要加 0x
k 是16进制的值
1 | openssl aes-128-cbc -d -in output000.ts -out output000_d.ts -nosalt -iv 57cf5c1e976898bd436da81ec8779539 -K xx |

1 | # 查询模块是否开启 |
–prefer-dist:优先下载压缩包,不是直接下载源码
1 | composer create-project --prefer-dist laravel/laravel laravel |
| 功能 | Eclipse(STS) | IDEA系列 | VS Code | VS |
|---|---|---|---|---|
| 查看类的结构 | ctrl + o | ctrl + f12 | ||
| 查找类 | ctrl + shift + t | ctrl + n | ||
| 抽取返回值变量 | ctrl + shift + l | ctrl + alt + v | ||
| 实现接口 | ctrl + i | |||
| 查看实现类(继承树) | ctrl + h / ctrl + alt + b | |||
| 搜索关键字,IDEA 需要(shift + f3)返回搜索 | ctrl + k | ctrl + f3 | ||
| 复制行 | ctrl+alt+down | ctrl + d | shift+alt+up/down | ctrl + c , ctrl + v |
| 删除行 | ctrl + d | ctrl + y | ctrl+shift+k | ctrl + L |
| 跳到指定行 | ctrl + g | |||
| 断点 | ctrl + shift + f8 | |||
| 移动行 | alt+up/down | |||
Spring Boot Assistant 解决社区版属性文件不提示
CamelCase 转换命名
Easy I18n
Cool Request 查找 RequestMapping, 需自定义快捷键
Editor -> File and Code Templates -> Includes
1 | /** |
Editor -> General -> Sticky Lines
去掉右侧打勾
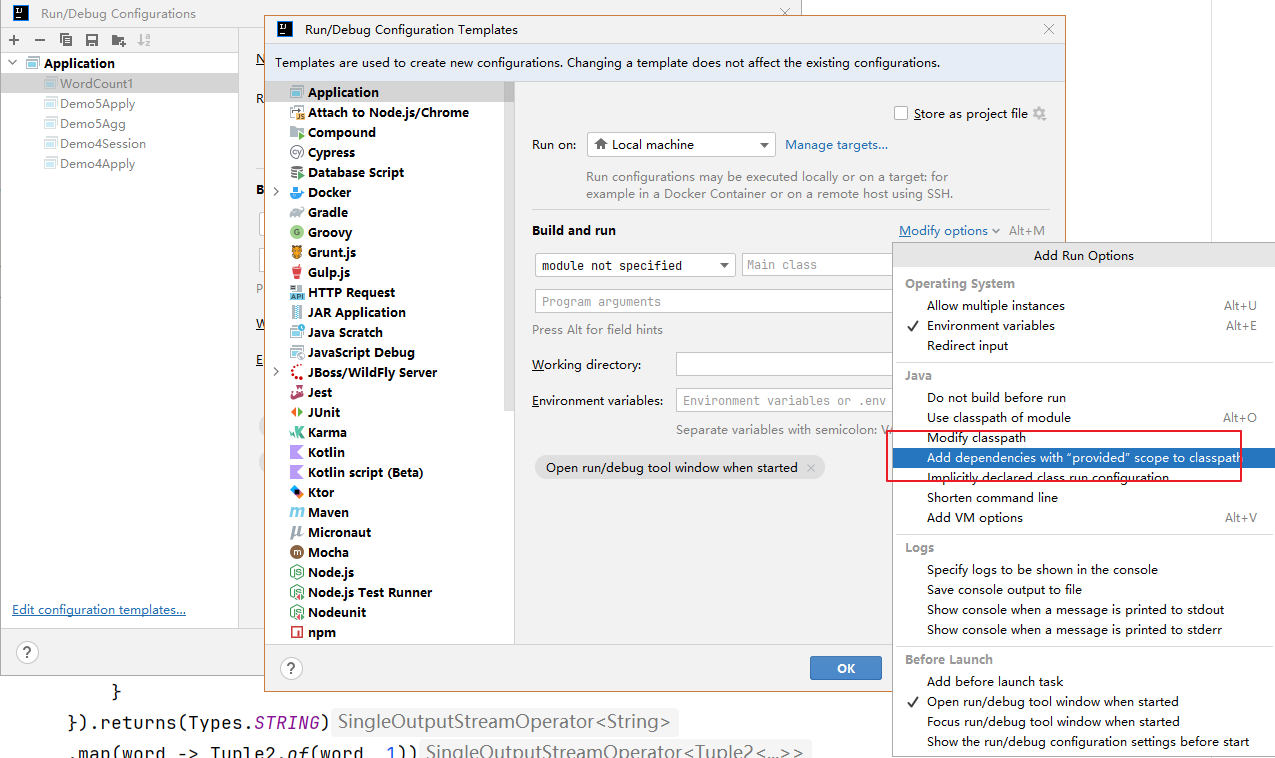
修改模板保证所有的都可以用
缺失模块。
1、请确保node版本大于6.2
2、在博客根目录(注意不是yilia根目录)执行以下命令:
npm i hexo-generator-json-content --save
3、在根目录_config.yml里添加配置:
  jsonContent:
    meta: false
    pages: false
    posts:
      title: true
      date: true
      path: true
      text: false
      raw: false
      content: false
      slug: false
      updated: false
      comments: false
      link: false
      permalink: false
      excerpt: false
      categories: false
      tags: true